PROBLEM
It may be helpful to create a test vote, to validate that all of the keypads are working and to encourage confidence amongst the audience.
SOLUTION
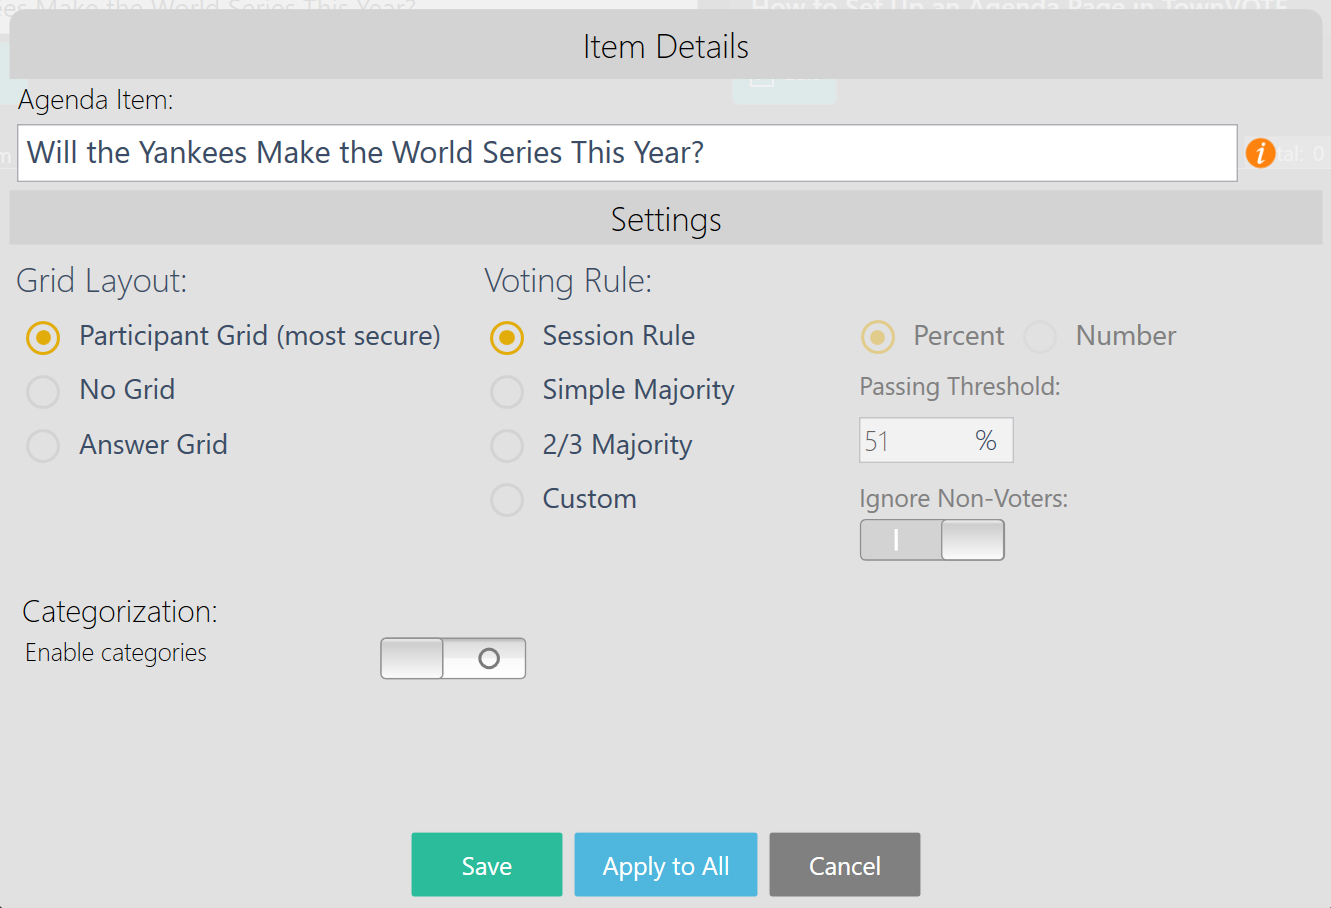
When you are ready to create the test vote, go to the agenda page in TownVOTE. Add a new agenda item which can simply say "test vote" or ask a fun yes or no question for the audience. On the item details screen, you can choose a no grid mode or participant grid mode. We recommend that you use the participant grid for the test vote, so that the audience can confirm their vote visually on the projected screen. In my test vote shown below, you can see that that I have the participant grid selected and pressing the save icon at the bottom will add the item to the agenda.
ITEM DETAILS
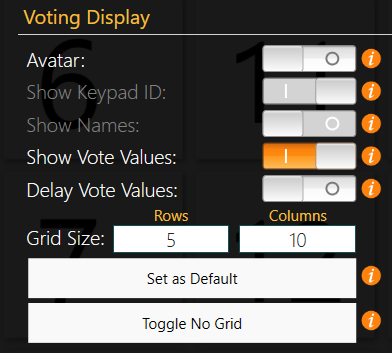
Once you are ready to open the test vote, open the vote from the action bar on the right-hand side. You may need to adjust the participant grid size to fit better on the screen. For my example, I am using 50 participants, so I will set my grid size to 5 rows by 10 columns. If you need help finding the settings panel, please review this article or this YouTube tutorial. While in the settings panel, you may wish to ensure that the "Show Vote Values" toggle is switched on, so that the audience can confirm the value of their vote as well as see it change on screen. If you are conducting an identifiable vote, you may also wish to turn on the show names toggle which is available so long as there are names assigned to the participants in the participant list.
VOTING DISPLAY SETTINGS
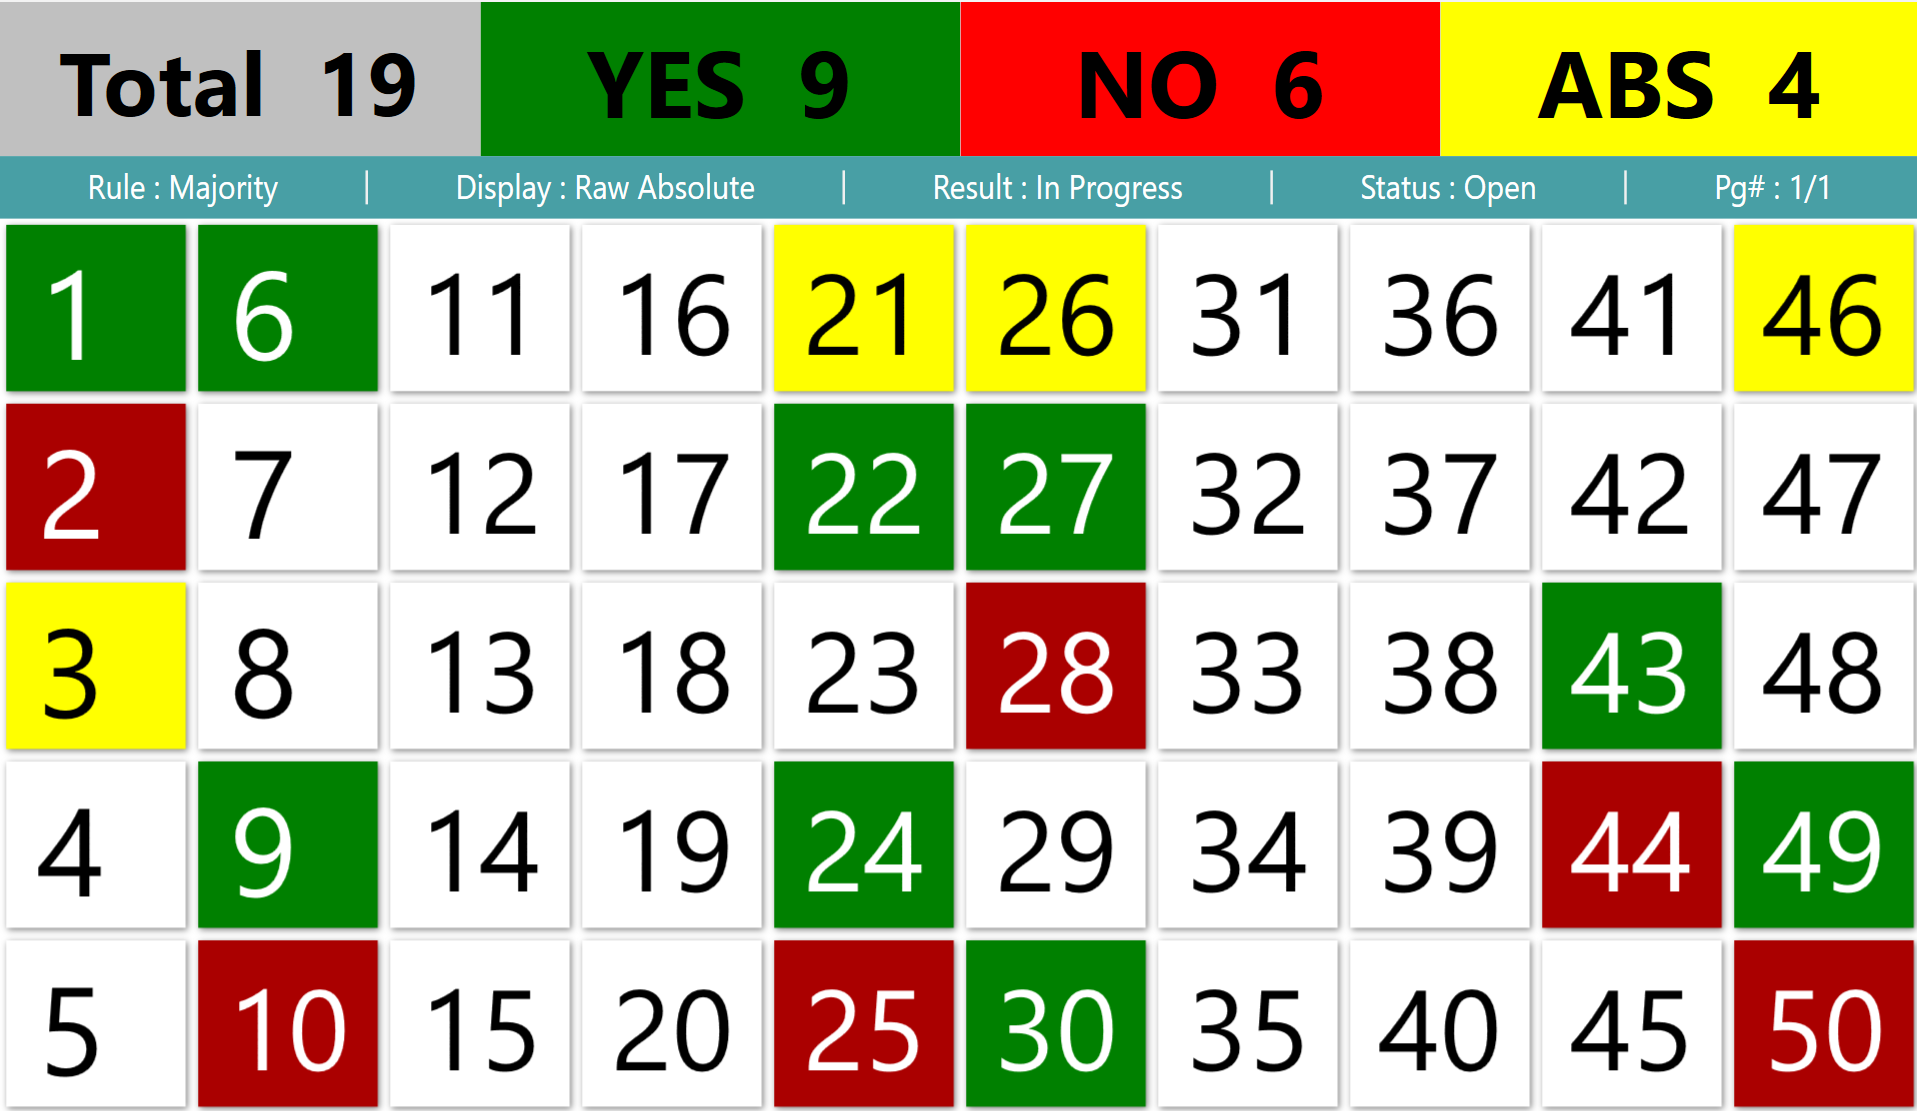
Now that you have adjusted the participant grid in the settings panel, it is time to open the vote. When the vote is opened, the audience will be able to confirm that their clicker is working and can make sure that their vote is counted as the correct value. You may find it helpful to walk around the room in order to answer questions from the audience and potentially replace any malfunctioning clickers. After I started the vote and voted with 19 clickers, my screen can be seen below.
TEST VOTE GRID
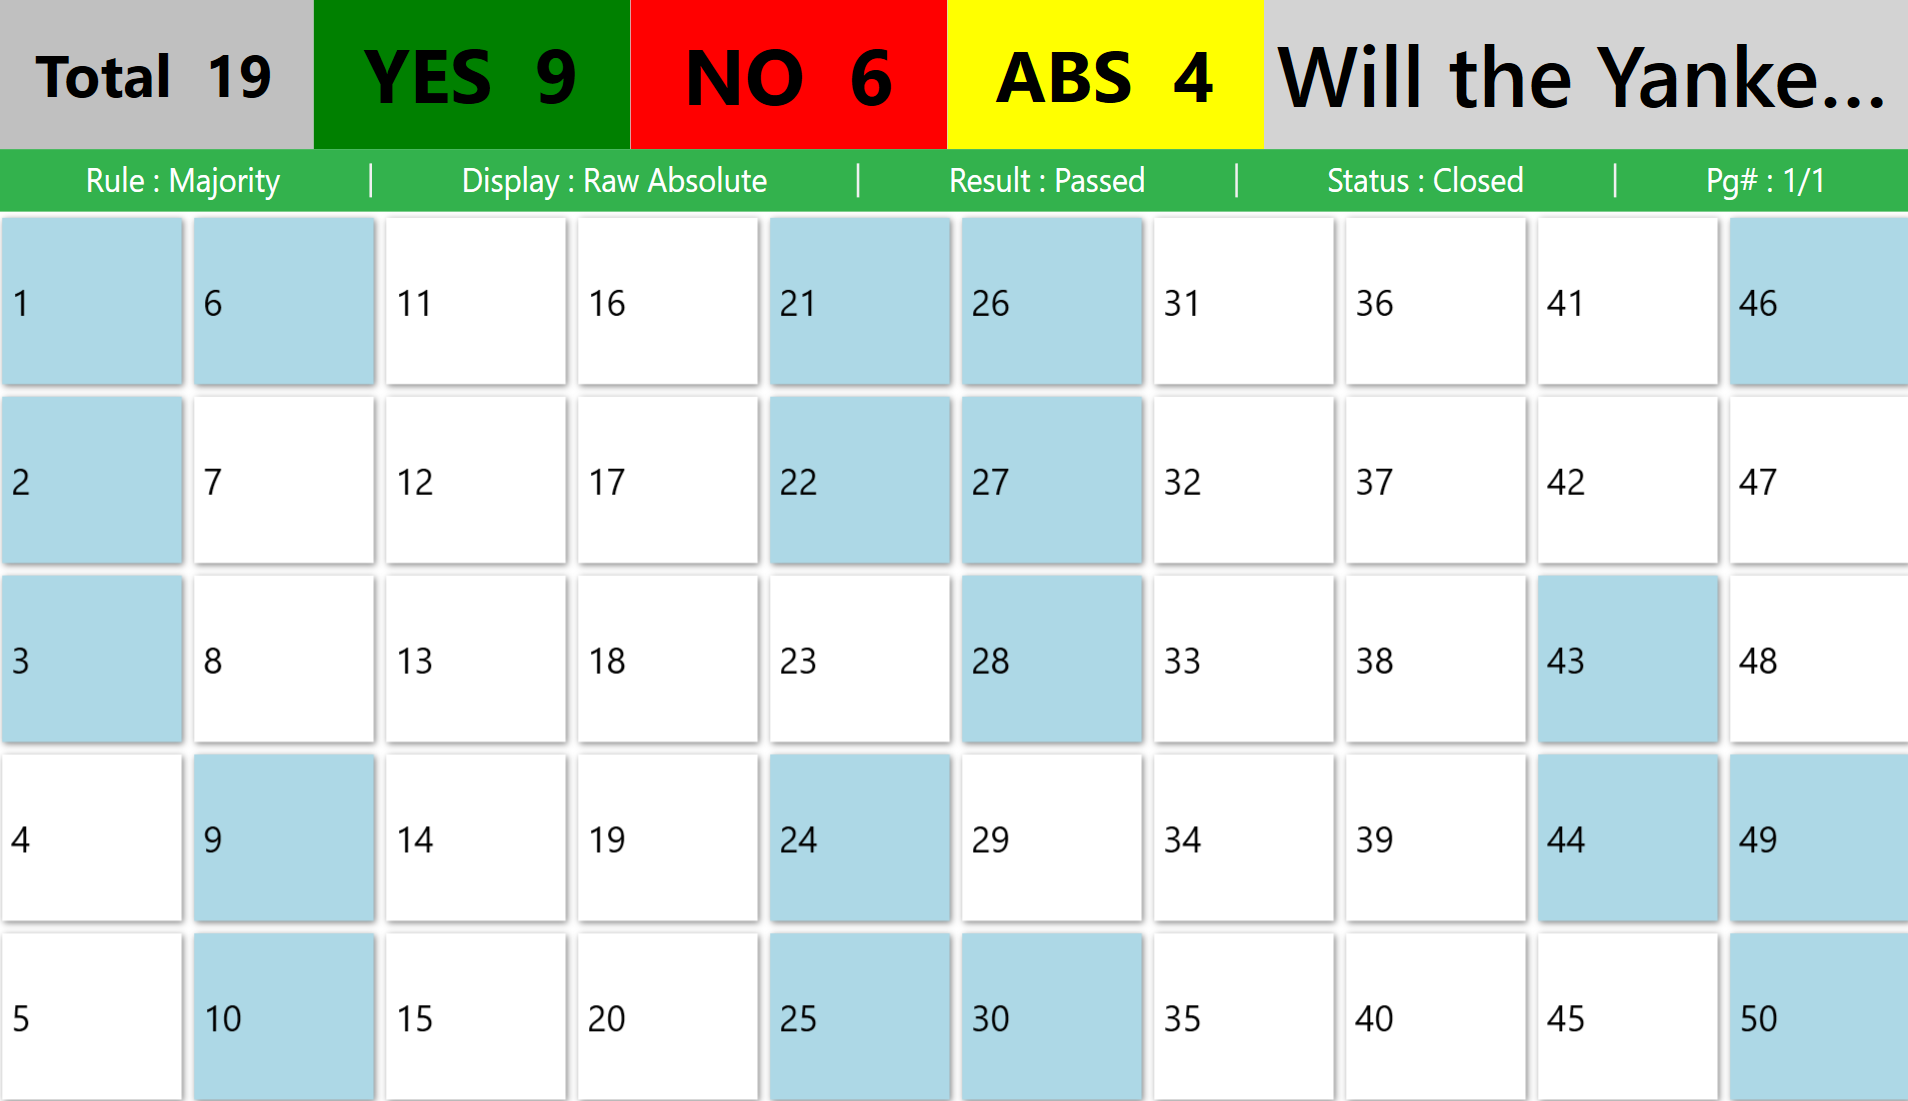
Sometimes, you may wish to not show the vote values. The audience will still be able to see whether or not their clicker is working, but their keypad ID will show up blue on the grid instead of red, green or yellow. The resulting grid may look like this.
SHOW VALUES TURNED OFF
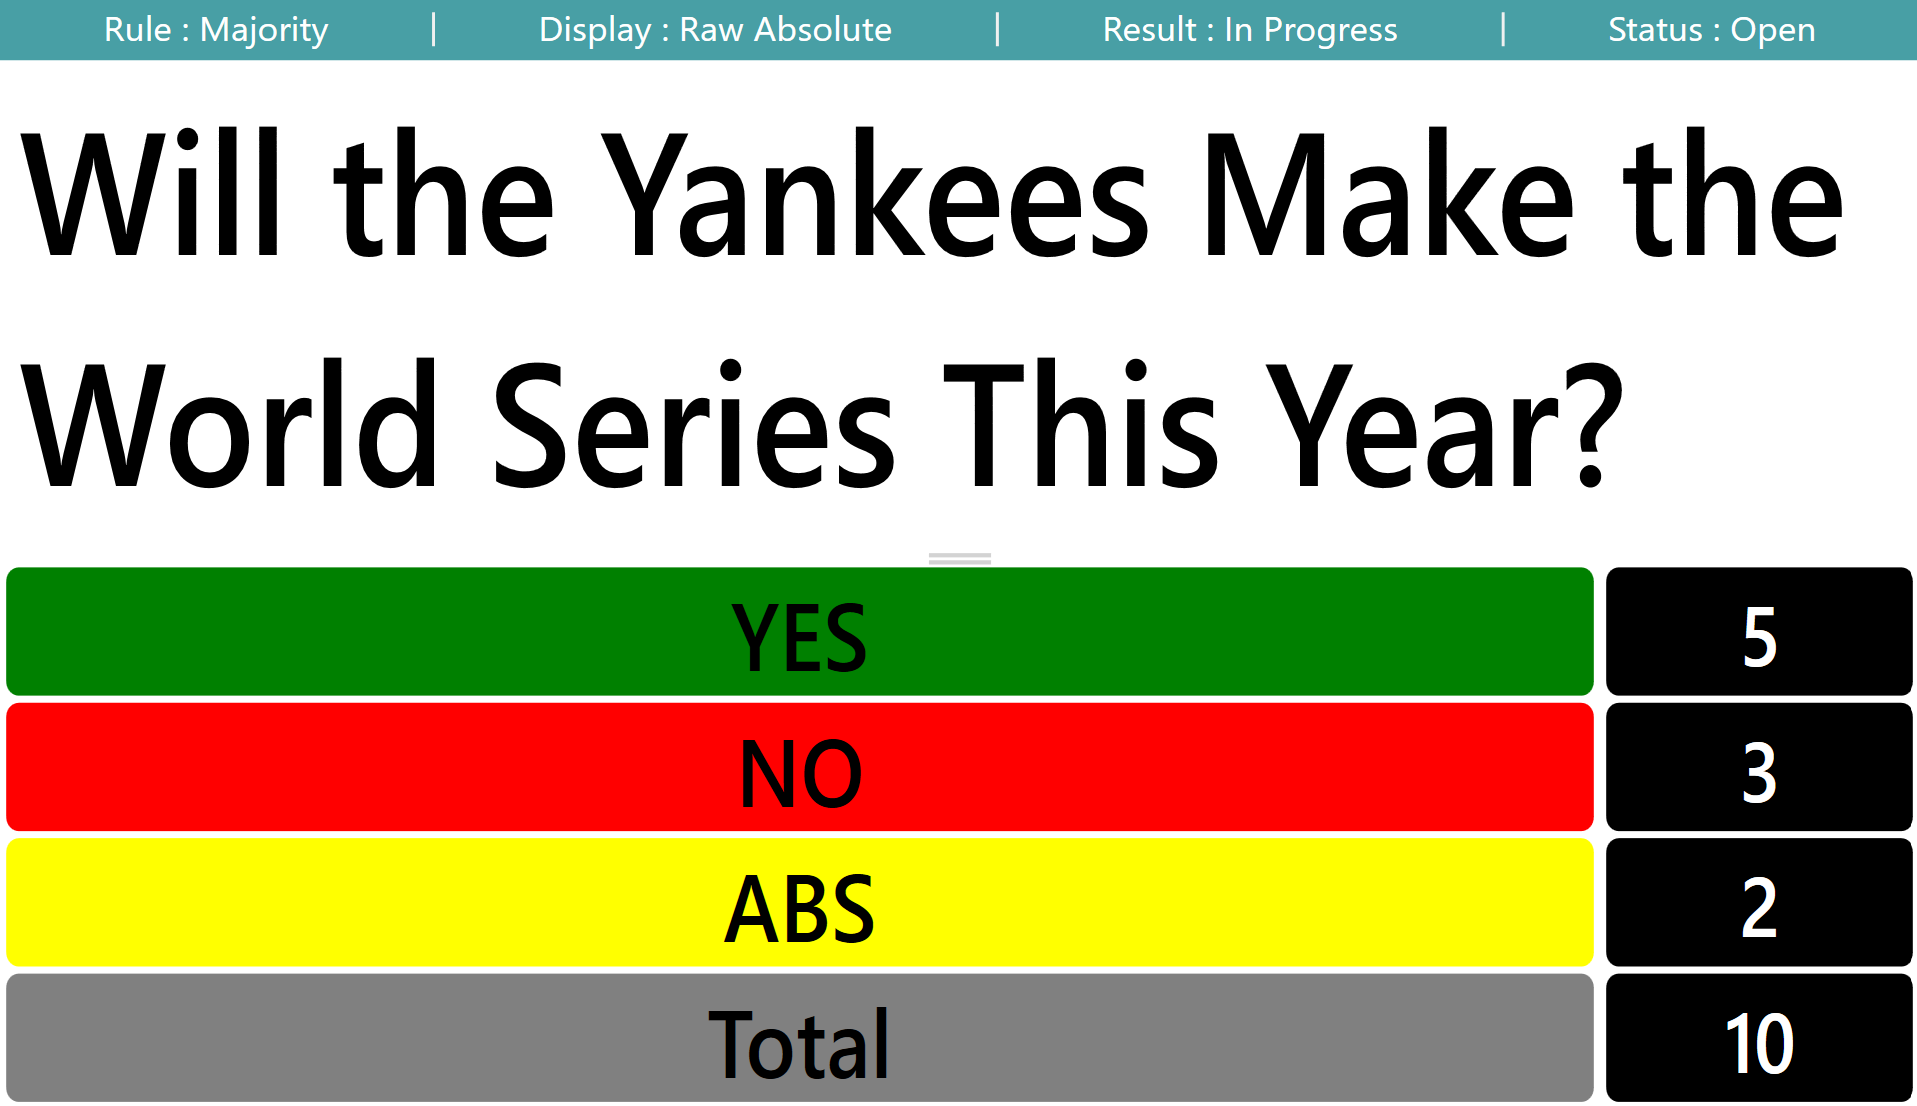
If desired, you may also use the "No Grid" Option for a test vote. The audience can still keep track of their vote visually by watching the subtotals change as they cast their vote. They will also still see the "OK" displayed on the LED screen of their keypads to let them know that their vote has been received. After opening the vote, this is what my test screen looked like in the "No Grid" mode.
TEST VOTE NO GRID
YOUTUBE TUTORIAL

RELATED ARTICLES
How to Access the Settings Panel in TownVOTE
Voting and Audience Response Checklist
Was this article helpful? Please leave your feedback below.
Was this article helpful?
That’s Great!
Thank you for your feedback
Sorry! We couldn't be helpful
Thank you for your feedback
Feedback sent
We appreciate your effort and will try to fix the article